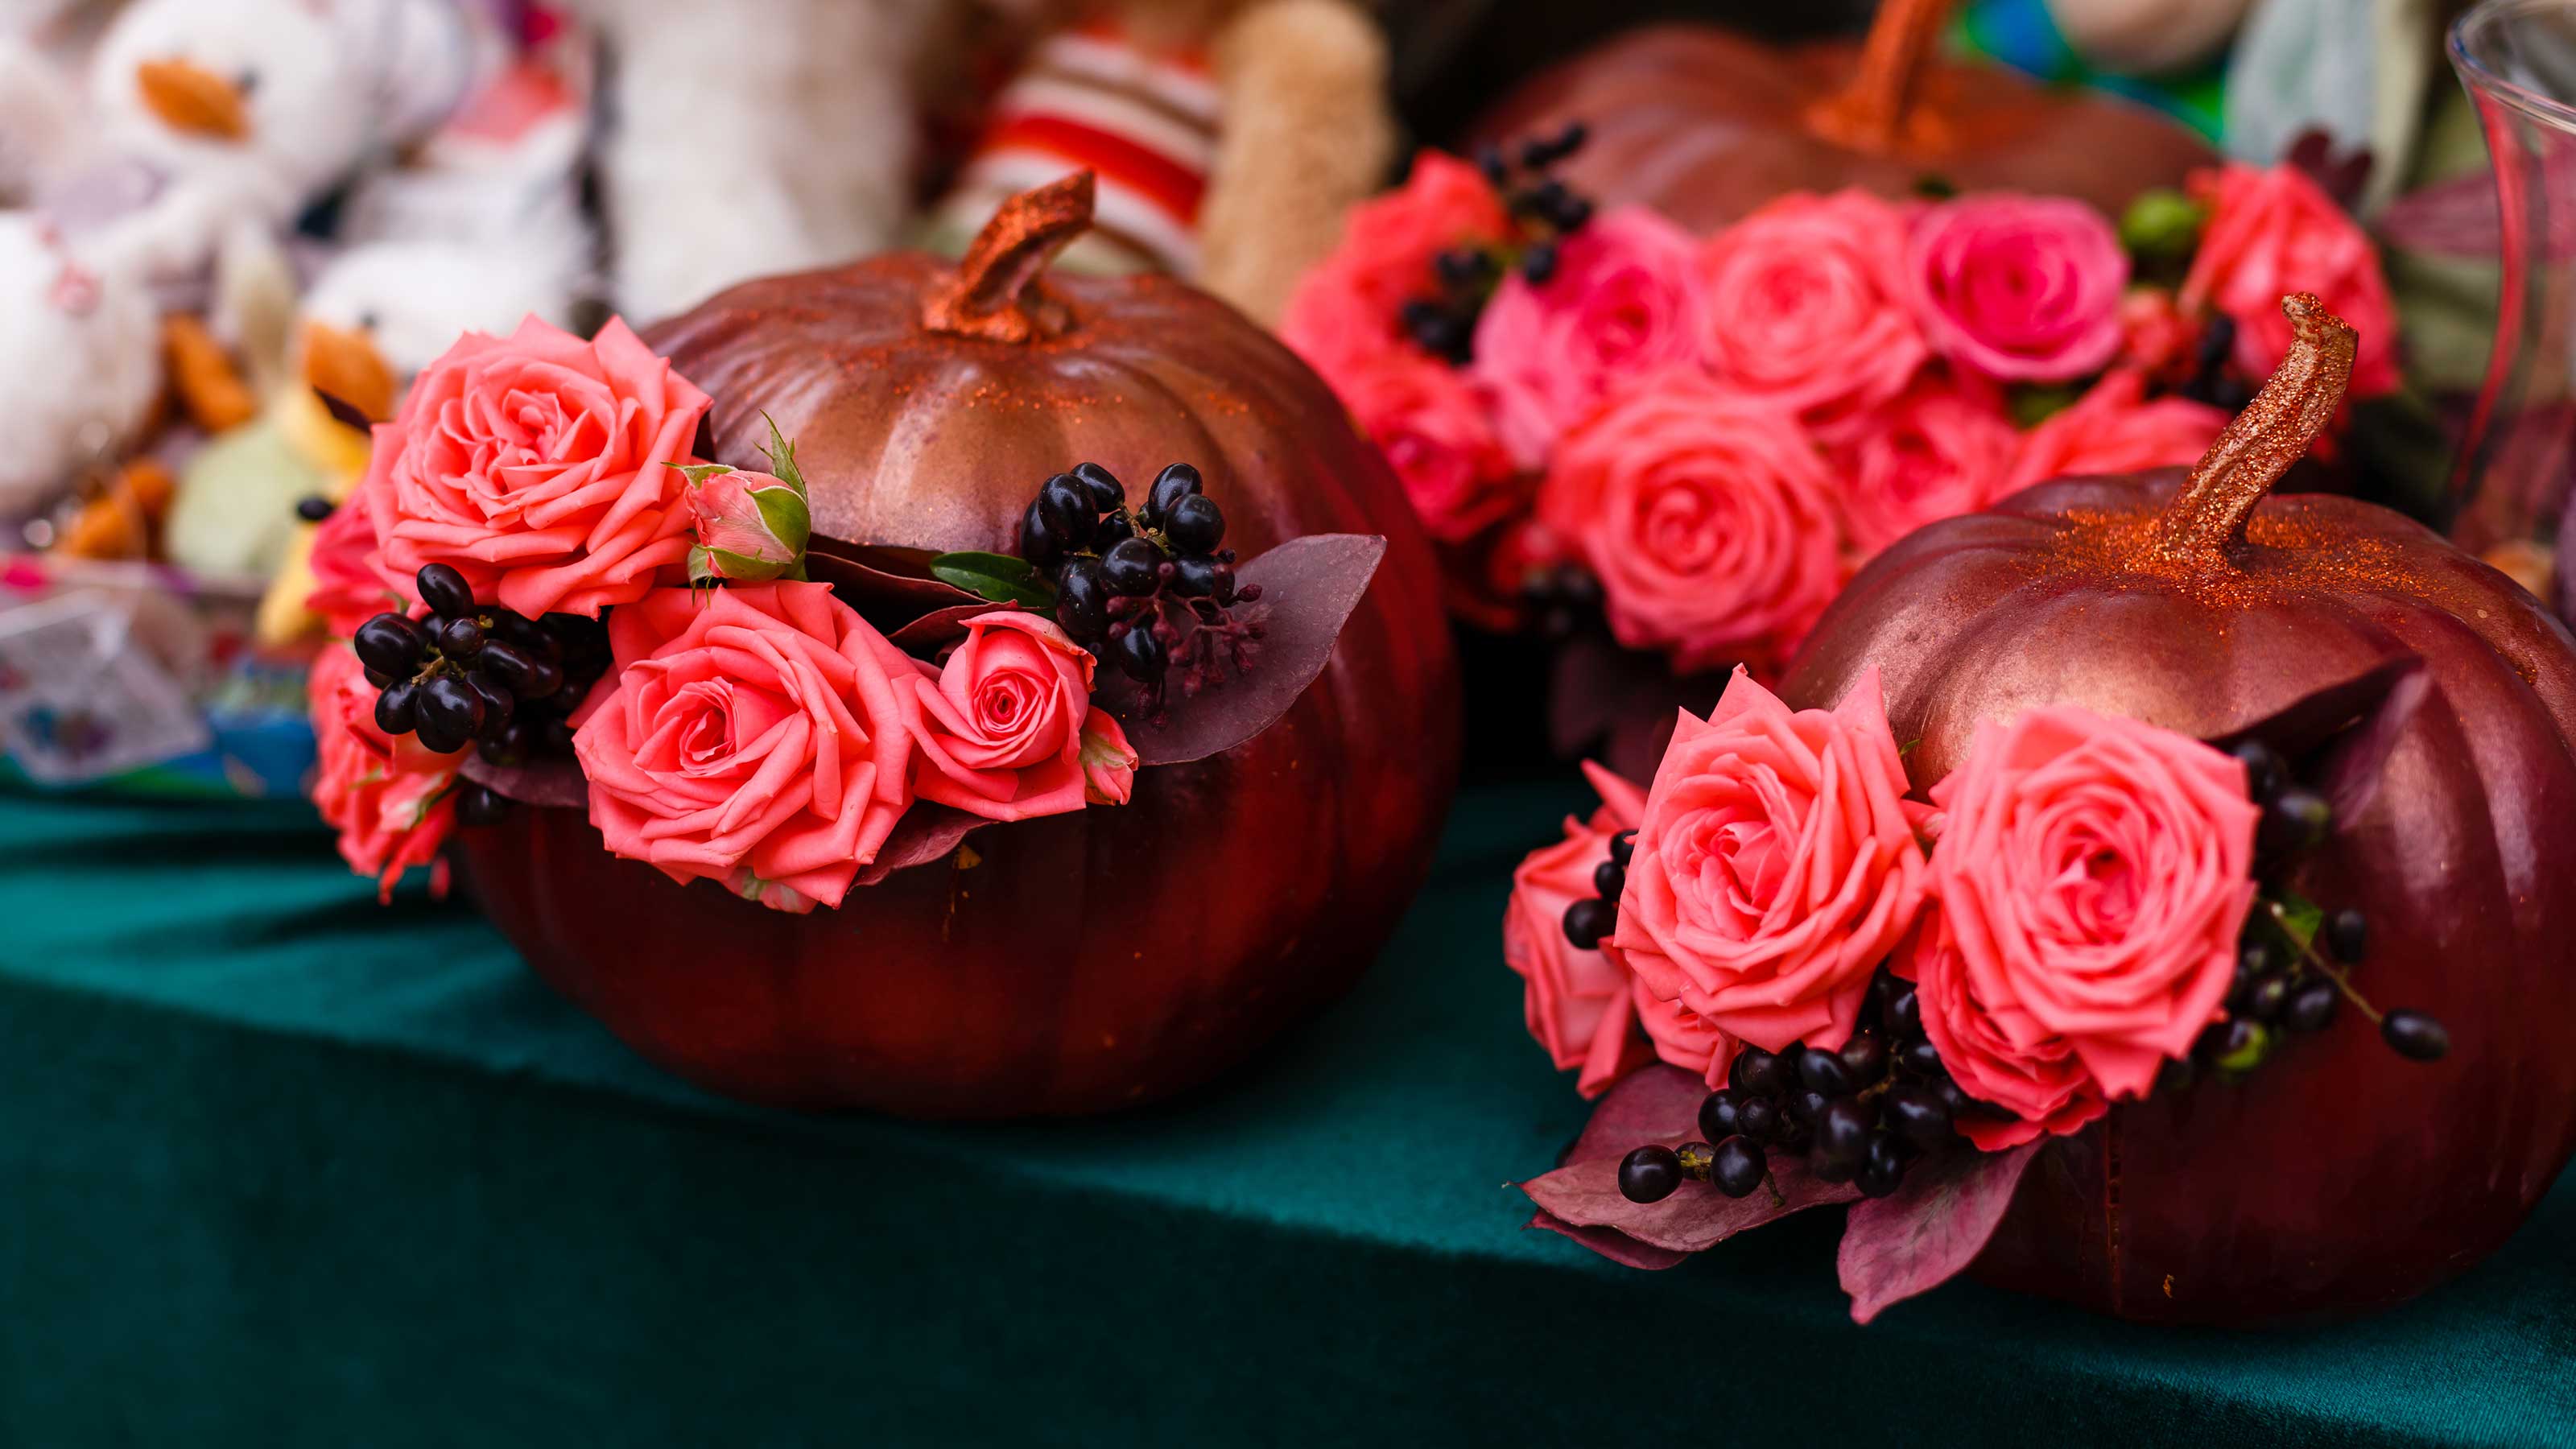
Artificial fruits are more practical if you plan to make a decoration that can last an entire season instead of just displaying them on tables. So, here are some ideas on how to turn faux and artificial fruits into beautiful centerpieces.
Stacked Metallic Pumpkin Centerpiece

Materials you’ll need:
- Two artificial pumpkins
- A large candleholder
- Orange craft paint
- White milk paint
- Hot glue gun
- Artificial leaves
- Orange craft paint
- Copper metallic texture paste
- A short bristled brush
Instructions to make the Stacked metallic Pumpkin centerpiece
Step 1: So first and foremost, if you’ll be using paper mache pumpkins, I highly recommend painting them with an orange base color. And, it’ll be better if you use two applications of the orange paint.
Step 2: Now, proceed by painting the candle holder with the white milk paint. I suggest using two-three layers of paint to cover the column properly. But, remember to let each layer of paint dry before you move on to the next one.
Step 3: With the help of the short bristled brush, try to paint the copper paste onto the artificial pumpkins. You can paint twice if you want them to shine and don’t forget to brush the raised surfaces properly to highlight these areas.
Additional Note: Try to work and paint one section at a time and then leave it dry before focusing on the other area. And, in case the paste dries out, you can add one or two tablespoons of water to it and let the paste sit for about an hour.
Step 4: Now, it’s time to assemble the centerpiece. You start by using the hot glue gun to stick the artificial leaves to the candle holder and then next, attach the larger pumpkin to the candle holder right above the leaves. Afterward, you can glue a few more leaves on and finish them off with the smaller pumpkin.
Reviews:
“Wow, that was so easy to make…I really loved it. Thanks” –From Nia
Pumpkin Centerpiece With Fresh Flowers

Materials you’ll need:
- A Styrofoam pumpkin
- One dozen roses
- A bunch of filler flowers
- A ball of chicken wire that can fit inside your pumpkin
- 5-6 large white hydrangea
- A large bunch of seeded eucalyptus
- A sharp knife
Instructions to make the Pumpkin centerpiece with fresh flowers:
Step 1: With the sharp knife, start by making a huge hole in the top of the pumpkin. And, please make sure that the hole is fairly wide so that you can fit in all the flowers you bought and there’ll still be some space for the greenery spill.
Step 2: Now, you need to put the chicken wire inside the pumpkin. However, make sure that the chicken wire is large enough to fit inside securely and not roll around. And, once it’s inside, try to spread it out a little bit.
Step 3: Once you’ve finished adding water (to about 2 inches below the top of the pumpkin), start adding the eucalyptus or any other greenery of your choice. Make sure the greenery fills in around the edges of the pumpkin.
Step 4: Now, add the hydrangea to the pumpkin.
Additional Note: Before placing the hydrangea into the pumpkin, make sure to give the stems a fresh and nice cut.
Step 5: Then, fill all the empty spaces with roses.
Additional Note: Before placing the roses into the pumpkin, make sure to give the stems a fresh and nice cut.
Step 6: The last step includes adding the filler flowers to your pumpkin centerpiece.
Reviews:
“This is such a beautiful centerpiece Bre! I’ve never seen a copper pumpkin like that before, but I seriously love it! And the white and cream flowers are so gorgeous! I’m so going to try this with a faux pumpkin – it’ll last much longer than the arrangement I made with a real one. Thanks for the great tutorial!” – From Barbara


